Notice
Recent Posts
Recent Comments
Link
| 일 | 월 | 화 | 수 | 목 | 금 | 토 |
|---|---|---|---|---|---|---|
| 1 | 2 | 3 | 4 | 5 | 6 | 7 |
| 8 | 9 | 10 | 11 | 12 | 13 | 14 |
| 15 | 16 | 17 | 18 | 19 | 20 | 21 |
| 22 | 23 | 24 | 25 | 26 | 27 | 28 |
Tags
- js
- 자바스크립트
- Blockmonkey
- vs code
- 제로초
- 컴퓨터공학개론
- al
- 프로그래밍
- 파이썬 알고리즘
- javascirpt
- 블록체인개론
- javascript 게임
- Javascript
- mysql
- nodejs
- 블록체인
- hyperledger
- 컴퓨터사이언스
- SQL
- Nodejs 프로젝트
- algorithum
- javascript 초급
- 깃
- DataStructure
- 관계형데이터베이스
- 생활코딩
- hyperledger fabric
- 하이퍼레저
- 블록몽키
- 생활코딩 nodejs
Archives
- Today
- Total
Blockmonkey
[CICD] Github Action (CI) + CodeDeploy (CD) 본문
Web Development/Back-end
[CICD] Github Action (CI) + CodeDeploy (CD)
Blockmonkey 2022. 10. 10. 16:09Github Action + Code Deploy + S3
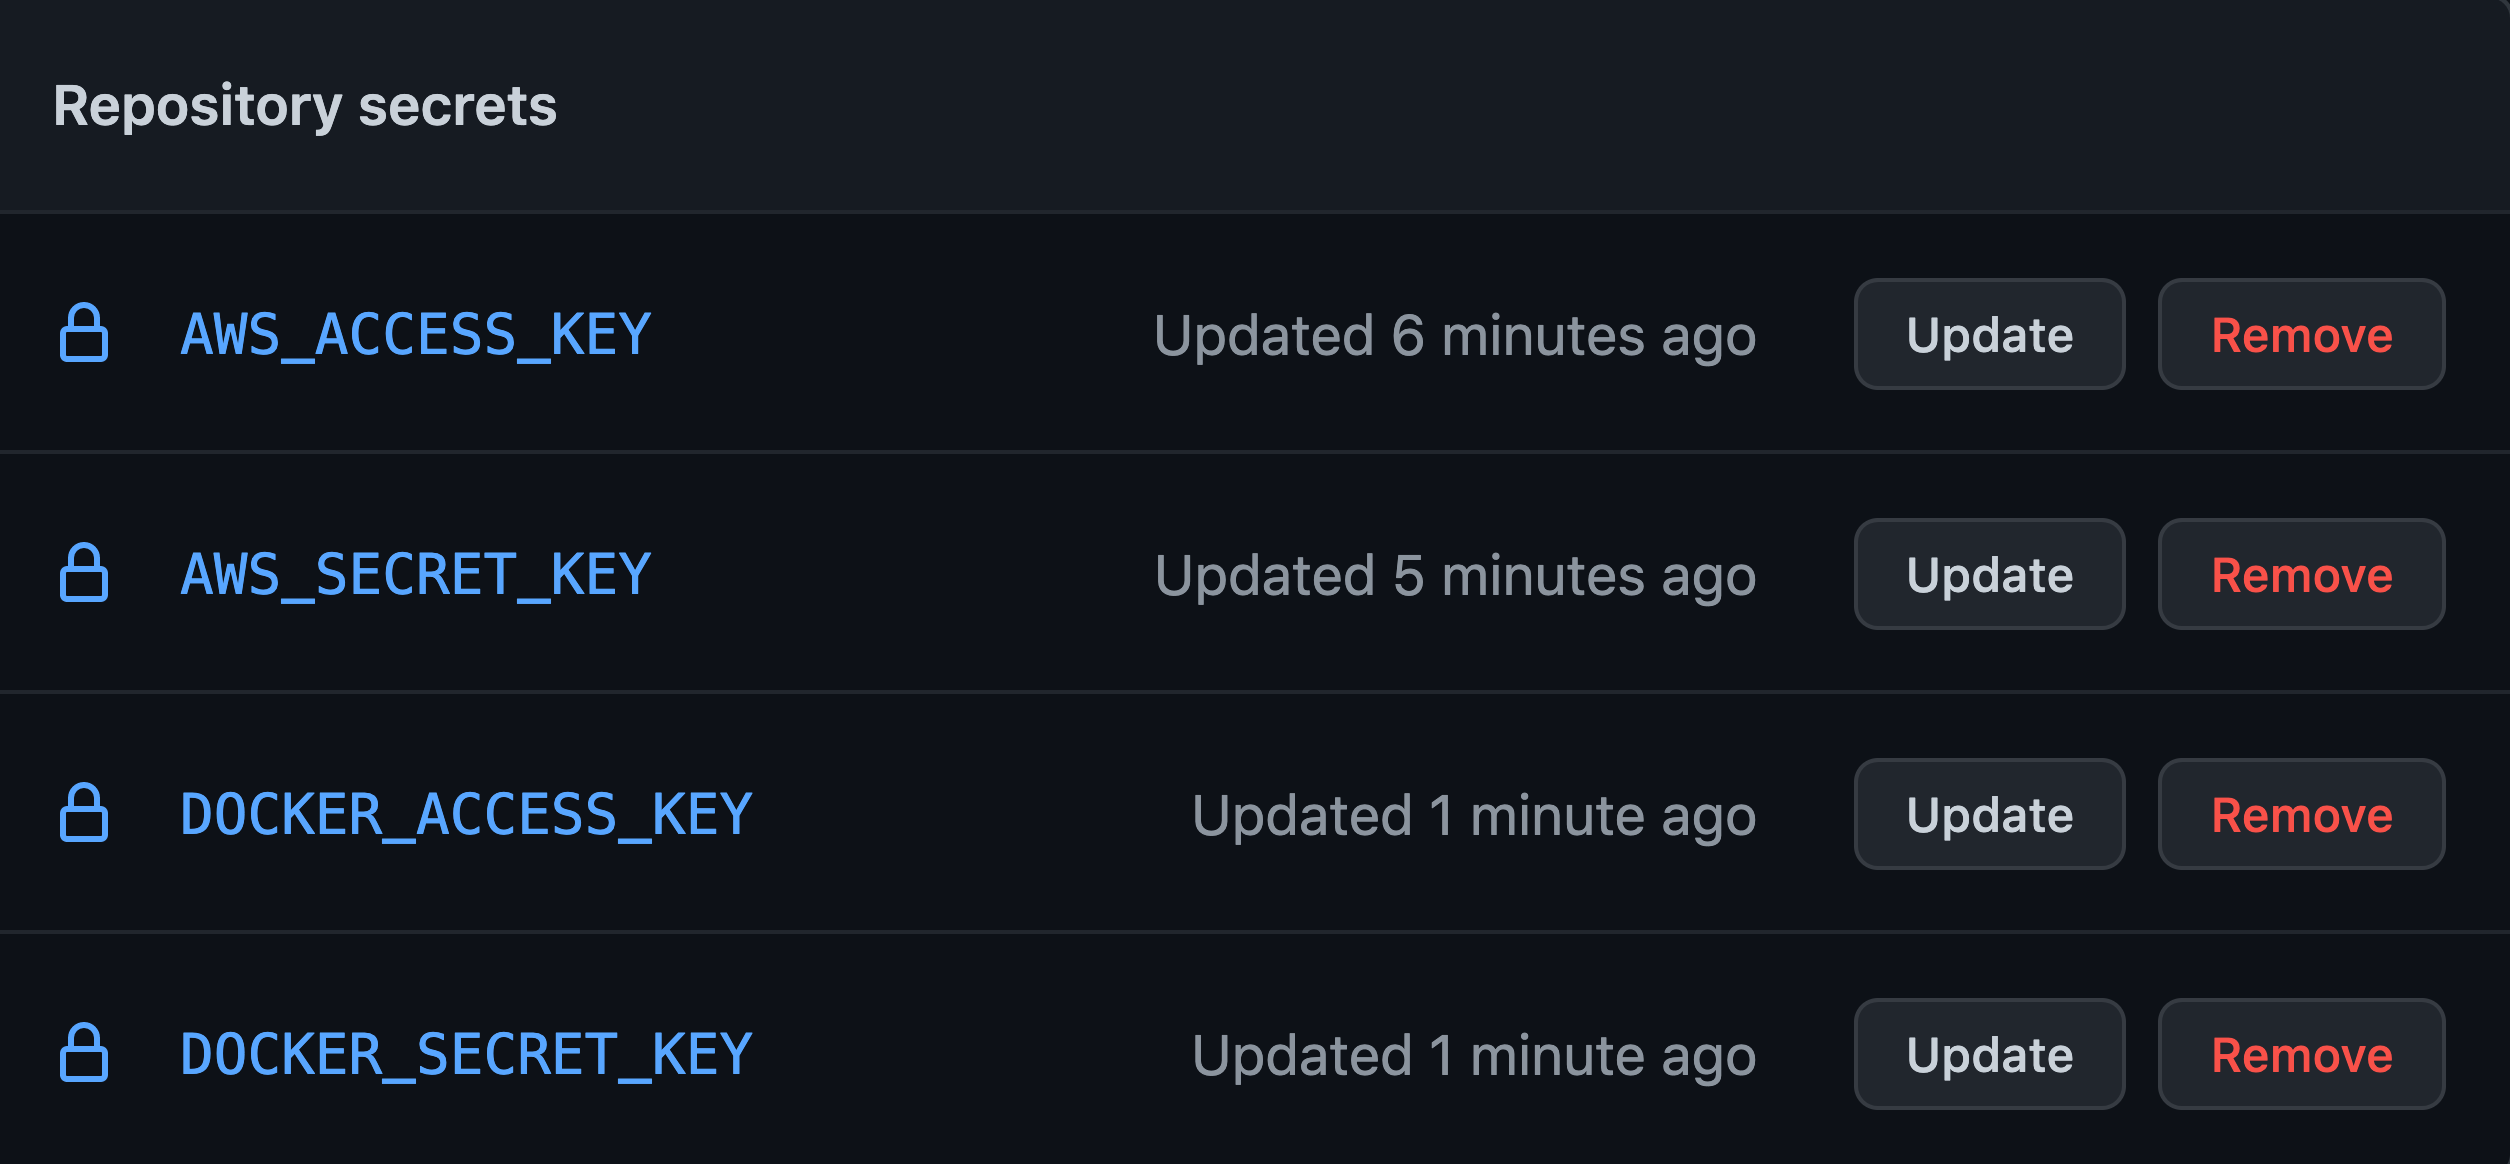
1. Github Secret 설정 (Repository - Setting - Secrets - Actions에서 키 내용 등록)
-> AWS IAM의 ACCESSKEY_ID 와 ACCESSKEY_SECRET을 각각 생성해준다.

2. S3 버킷 생성
-> 버킷생성
-> 폴더 생성 (build 파일 저장용)
3. AWS Role 생성
-> AWS S3 Full Access & CodeDeploy Full Access 권한 롤 생성 (github-action-role)

-> Code Deploy Role 설정

4. AWS EC2 인스턴스 생성 & Role 설정
-> 인스턴스 생성 (20.04 또는 그 이하 버전으로 할 것)
-> 인스턴스에 Role 적용


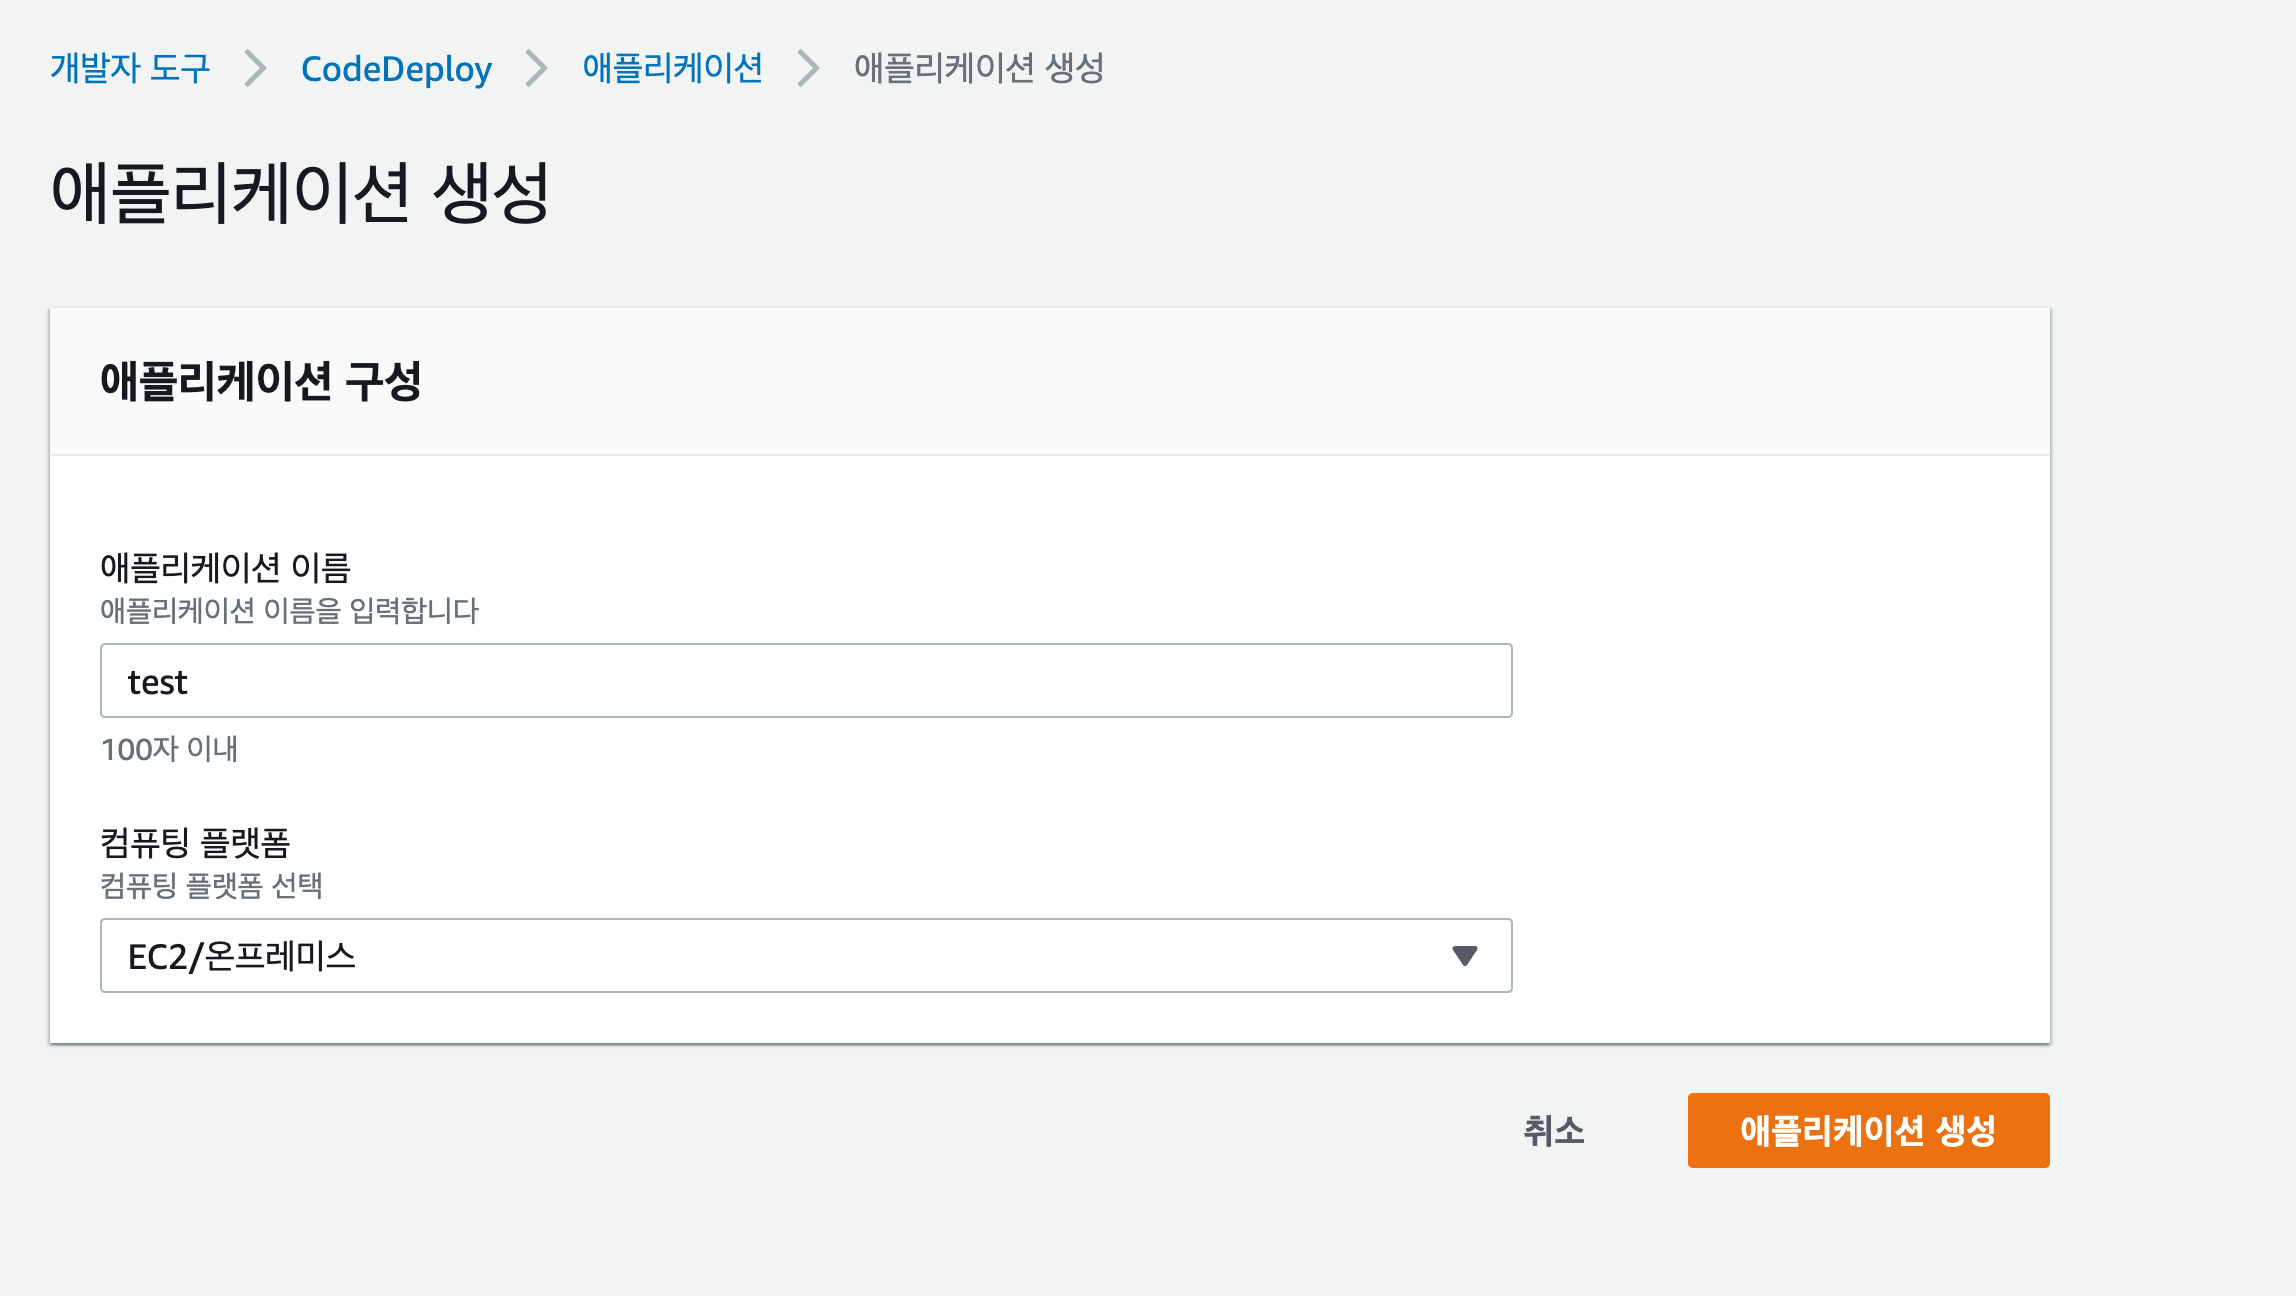
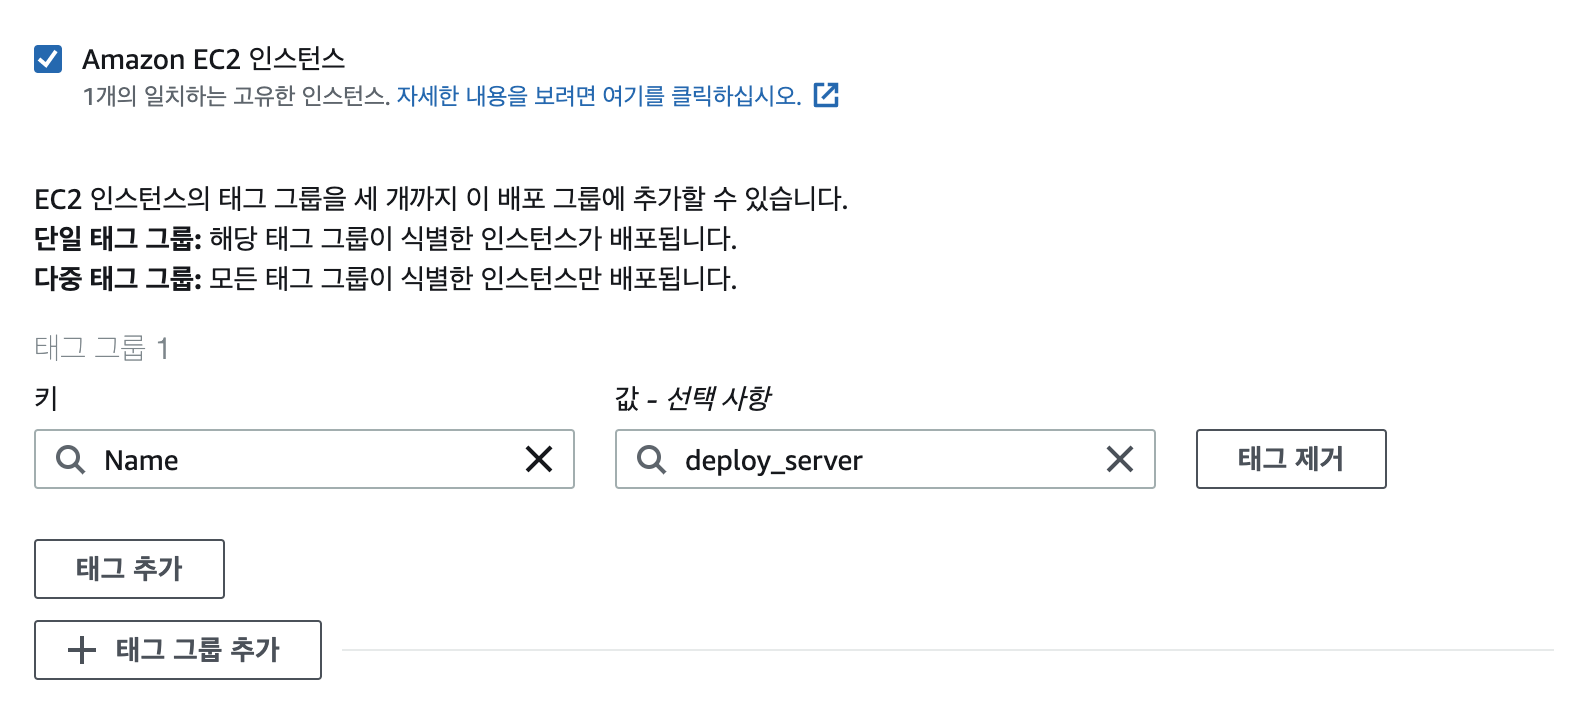
5. AWS Code Deploy 설정
-> 새 애플리케이션 생성

-> 그룹생성


6. EC2 인스턴스 내 Code Deploy Agent 설치
$ sudo apt update # APT GET UPDATE
$ sudo apt install wget # WGET Install
$ sudo apt install ruby-full # Code Deploy Agent Dependency
$ wget https://aws-codedeploy-ap-northeast-2.s3.ap-northeast-2.amazonaws.com/latest/install
$ chmod +x ./install # Install 파일 권한 변경
$ sudo ./install auto # Install 파일 실행
$ sudo service codedeploy-agent status # code-deployagent status Check
7. Github WorkFlow 설정

-> WorkFlow.yml 파일 작성 [Github Action]
# This is a basic workflow to help you get started with Actions

name: CI

# Controls when the workflow will run
on:
  # Triggers the workflow on push or pull request events but only for the "main" branch
  push:
    branches: [ "main" ]

  # Allows you to run this workflow manually from the Actions tab
  workflow_dispatch:

# A workflow run is made up of one or more jobs that can run sequentially or in parallel
jobs:
  # This workflow contains a single job called "build"
  build:
    runs-on: ubuntu-latest

    steps:
    # Checks-out your repository under $GITHUB_WORKSPACE, so your job can access it
    # 버전확인
    - name: checkout release
      uses: actions/checkout@v3

    # Runs a single command using the runners shell
    # 아래 명령어를 실행
    - name: Clean temp directory
      run: |
        rm -rf *
        cp -r $GITHUB_WORKSPACE .
    # 압축하기 tar cvfz (폴더명) (압축 폴더명)
    - name: archive drcloud
      run: tar cvfz ./drcloud.tar.gz *
   # AWS Credential 설정 (Github Action Credential 셋팅해둔것에 맞추어 )
    - name: AWS configure credentials
      uses: aws-actions/configure-aws-credentials@v1
      with:
        aws-access-key-id: ${{ secrets.MY_ACCESS_KEY }}
        aws-secret-access-key: ${{ secrets.MY_SECRET_KEY }}
        aws-region: ap-northeast-2
    # S3 업로드 설정 명령어 (S3 본인에 맞추어 아래 항목들을 수정하시오)
    - name: upload to S3
      run: aws s3 cp --region ap-northeast-2 ./drcloud.tar.gz s3://blockmonkey-assets/test/
    # Code Deploy 설정 (아래 항목들을 수정하시오)
    - name: deploy with AWS codeDeploy
      run: aws deploy create-deployment
        --application-name test
        --deployment-config-name CodeDeployDefault.OneAtATime
        --deployment-group-name testgroup
        --s3-location bucket=blockmonkey-assets,bundleType=tgz,key=test/drcloud.tar.gz
-> .appspec.yml (배포 이후 할 작업에 대한 명시 파일) [Code Deploy Agent]
Code Deploy Agent는 s3에서 파일을 해당 인스턴스에 내려 받고 파일 권한 설정.
version: 0.0
os: linux

files:
  - source: /
    destination: /home/ubuntu/drcloud-deploy

permissions:
  - object: /home/ubuntu/drcloud-deploy
    owner: ubuntu
    group: ubuntu
    mode: 755
'Web Development > Back-end' 카테고리의 다른 글
| 인증 인가 방식 비교 (0) | 2023.05.01 |
|---|---|
| Nestjs & Docker & Github Action 활용 자동 배포 구축하기 (2) | 2023.05.01 |
| Ubuntu nvm & nodejs 최신 버전 설치 (0) | 2022.08.18 |
| [WEB] MERN STACK APP 배포 (0) | 2021.12.06 |
| [형변환] Golang ([]byte -> big.Int) (0) | 2021.08.11 |


